Wednesday, June 3, 2015

LedgeRocks New Bunkers


It's hard to believe that May is over. It's amazing what three weeks can do! The temperature finally picked up and with it Mother Nature woke up. The course healed exceptionally well from aeration and the new cultural practices were very successful. The roots on the bad greens have not been this healthy in a long time so it sets the course up well for the summer. The course has been playing hard and fast for the most part as the region is in marginal drought conditions; it is a lot easier to add water than take it away!


Over the last week the weeds have finally been sprayed so should be disappearing soon. We have also been spot killing poa on the greens which can be identified by the blue/black dots that are turning brown. As last year, Annual Bluegrass Weevils are attacking the poa also on collars so Mother Nature is giving a helping hand with natural poa control. We will let them munch away for a bit longer and them kill them off before they run out of food and possibly take a liking to bentgrass!

ABW munching on the poa on 12 collar

Poa spotted with herbicide on 4

As promised I wanted this post to discuss the bunker project. 

It is hard to think of a bunker as a hazard when you consider how much work is needed to maintain them. Bunker types vary a lot from the ruggedness of a Pine Valley, the steep stacked sod walls of a Links course to the perfectly manicured sand of Augusta National. There really is no set design just one that fits the environment and overall feel of the course itself. LedgeRock's design called for large bunkers with some flashing and grass faces with a more manicured look. It fits well on the property but unfortunately flashed sand results in washouts. Washouts not only are labor intensive to have fixed after a storm but also result in silt and rocks contaminating the sand. 


So why do bunkers wash out? The sand sits on a soil base. When it rains the water runs through the sand and along the surface of the soil - hopefully to a drain. With excessive rain the sand fills up with water; when this occurs the sand takes on the characteristics of a liquid and flows like water down the slope creating the washout. The angle of repose of the sand is also important as the closer to this angle the face is, the more prone it is to washing out. The angle of repose is simply the angle that the sand naturally supports itself. When you look at a pile of sand, the cone it forms is the angle of repose. If the slope in the bunker exceeds that angle the sand cannot hold. So to prevent washouts the slope has to less than the angle of repose and the water has to be separated from the sand by a drainage layer.


When construction started the only option for lining bunkers was fabric. While they work short term the decision was made not to go to the extra expense for a short term gain and see what solutions would come in the future. After a year or so of opening the club installed liners in a few of the worst bunkers to help play-ability.  Inevitability after a few years the issues with the fabric arised and while the sand is still relatively clean in them, the staples have come out and it is lifting. The fabric has also matted down so no longer prevents washouts like it did when it was new. 

Fabric liners installed in 2007 by 18 green


On the driving range a sod based liner was also trialed to see how it would work. The idea is that the thatch of the sod acts as a barrier to stones coming up and aides in separating the sand and soil. Our test showed that it worked well as a barrier but it did not hold up well under washout conditions which are required for flashed faces. 

In the mid 2000s an Australian product called Sportcrete was launched in the US. It was a stone base that was sprayed with a binding agent and it seemed like a good solution. Unfortunately the product did not hold up and ultimately disappeared from the market. 

With the short term success of the fabric liner and the sod, the board asked me to investigate a more permanent solution for the bunkers. At this time some more porous liners had made it to market.

The Better Billy Bunker method (BBB) was derived from a system that was invented at Augusta National where a stone drainage bed was covered with fabric. While this worked well it still involved a liner so the BBB method replaced the fabric with a spray to lock the stone bed together. 

A superintendent in Sweden created a porous concrete mix called Capillary Concrete which also works by creating a porous later between the sand and the soil. 

The next liner Bunker Matrix was created locally by Dan Meersman at Philadelphia Cricket Club. Dan specced a porous asphalt to be used as the layer and has had great success with it.

As I researched these products, I was leaning towards the BBB method but stumbled over a UK product called Blinder Bunker. Blinder used recycled crumb rubber and intrigued me as not only is it porous, but flexible also - which was my biggest concern with the other methods. 

I contacted them and they sent me a sample. As soon as it arrived I knew it was the solution LedgeRock was looking for but the only issue was how to get it here. So after a lot of back and forth I became the US licensee for it and went to London last fall to learn how to install it. They have installed Blinder at more than 100 clubs all over the UK and Europe since 2008 and over the last month the first Blinder Bunkers  in the US were installed in three bunkers at LedgeRock. 

Blinder bunkers at Wimbledon Park Golf Club (with Center Court in the background)

Burhill Golf Club in Surrey where I learned to install Blinder

So how do you rebuild a bunker? The old sand is removed and, for Blinder, the old lip is removed also to create a shelf so the product can be locked in. This prevents water or other contamination getting under the liner and also ensures that there is liner available if the bunker is edged back in time.

Removing the sand on 15

Removing the old lip on 13

 Details of the shelf on 15 


Once the shelf is built, the base of the bunker is shaped to make sure it falls correctly and that the slopes are within the angle of repose. 

Final shaping on 15

 Checking the slope to make sure it is less than the angle of repose of the sand

The drainage is then added. While the porous liners are essentially a drainage layer the water needs to exit the trap. The minimum requirement is a drain that runs along the floor but since drainage is cheap and the floor is being covered it makes sense to add extra drainage to make sure the water can get out even faster.


Once the drainage is installed Blinder requires a layer of modified stone to give the rubber a consistent solid base and one that the water can run on to the drains. 


The Blinder is then installed. It is recommended that it is left for 48 hours to ensure that it fully sets.


Once Blinder sets it is flexible enough to be picked up like a rug!

Then the lip gets rebuilt. Based on what I saw in the UK, I decided to use their method of stacking sod and the results look great. Originally the bunker lips were built with sandbags that eroded away when the turf stabilized them. The stacked sod also reduces the risk of contamination from stones or silt from the lip area.


Once the lip is finished the sand is added, packed and watered. It usually takes a few weeks for the sand to fully settle. All the liners are designed so that the sand bridges the material so the liner does not get clogged with sand particles.


Now that these three bunkers are completed the GAP committee plan to work on creating a list of priority bunkers so that the club can continue to replace bunkers going forward.

As always if you have any questions on this or anything, email me alan@ledgerockgolf.com


Saturday, May 9, 2015

May Update


It's been a busy month so apologies for not updating the blog sooner. Although the last number weeks have been colder than normal, it has been dry so perfect for getting work done around the course. 

The first item to finish up from the winter was the tree work around 2 and 18. Luckily the township allows burning so a permit was acquired, greatly reducing the amount of work to get rid of the brush.

Burning brush on 2

Aeration was scheduled the week beginning April 13th; thankfully the weather broke that week and with it, the first signs of spring. Aeration could not have went better! The fairways are aerated in-house in the spring and it usually takes at least two weeks. The weather stayed dry this year meaning the big vacuum could be used without issues so they were all done within a week! 

The cloud of dust from the vacuum on 17 fairway

The greens aeration procedure was changed up this year. There were a couple of reasons for this: the first was to see if they would heal quicker than in the past while still being as aggressive with the amount of area disturbed (which was explained in the last post). I also wanted to incorporate a deep tine aeration to encourage deeper rooting but to ensure the holes were completely filled the Dryject procedure was added. 

Deep tining the greens

Dryject injects sand into the profile so it essentially fills the holes from below. While it is a great tool for adding sand to a profile it is not a substitute for pulling a physical core so is generally used in conjuration or addition to a core aeration. 

Dryject on 3 green

To ensure the greens stay in top shape, they have been aggressively aerated every year to prevent the build up of thatch. While this has worked I have been becoming more concerned with the heaving it created. This year the machines were slowed down and the tine spacing changed a little. While a little of surface disturbance was lost (most of which was regained by the deep tine) the result was a perfect aeration. Going forward this procedure will be tweaked to perfect it, but overall the results have been great.

Deep tine holes next to core aeration

Aeration can be an inconvenience for golfers while the course heals and I have mentioned numerous times when, and why, it has to happen. The picture below is from 7 fairway and it shows how important aeration is. The aeration holes are the first areas to green up and recover from the winter. The same can be seen during periods of stress during the summer when they stay healthy while the turf around them browns out. The air exchange is critical for the plant and even though these were aerated over six months ago the benefits can still be seen. 

Aeration holes greening up first in fairways

Healing has been a mixed affair! Due to the increase in temperatures during, and right after the greens were finished, they healed quickly to a point until the temperature dropped again. Then they remained stagnant for a week or so; saying that they had recovered really well considering the weather. It is interesting that sheltered greens are further along than the exposed greens. The main reason is the temperature. The sheltered greens are holding onto the heat more, whereas the open greens are more exposed to the wind and therefore variations in temperature. The warmer weather over the last week really helped them grow out of the sand and the height of cut is back to normal. They are still growing really well and will start to speed up even more as the growth levels out. 

Healing on 13 green on 4-28 (note: that like the fairways, the old aeration holes are greener)

Healing on 2 green (taken within half an hour of the picture of 13 above)

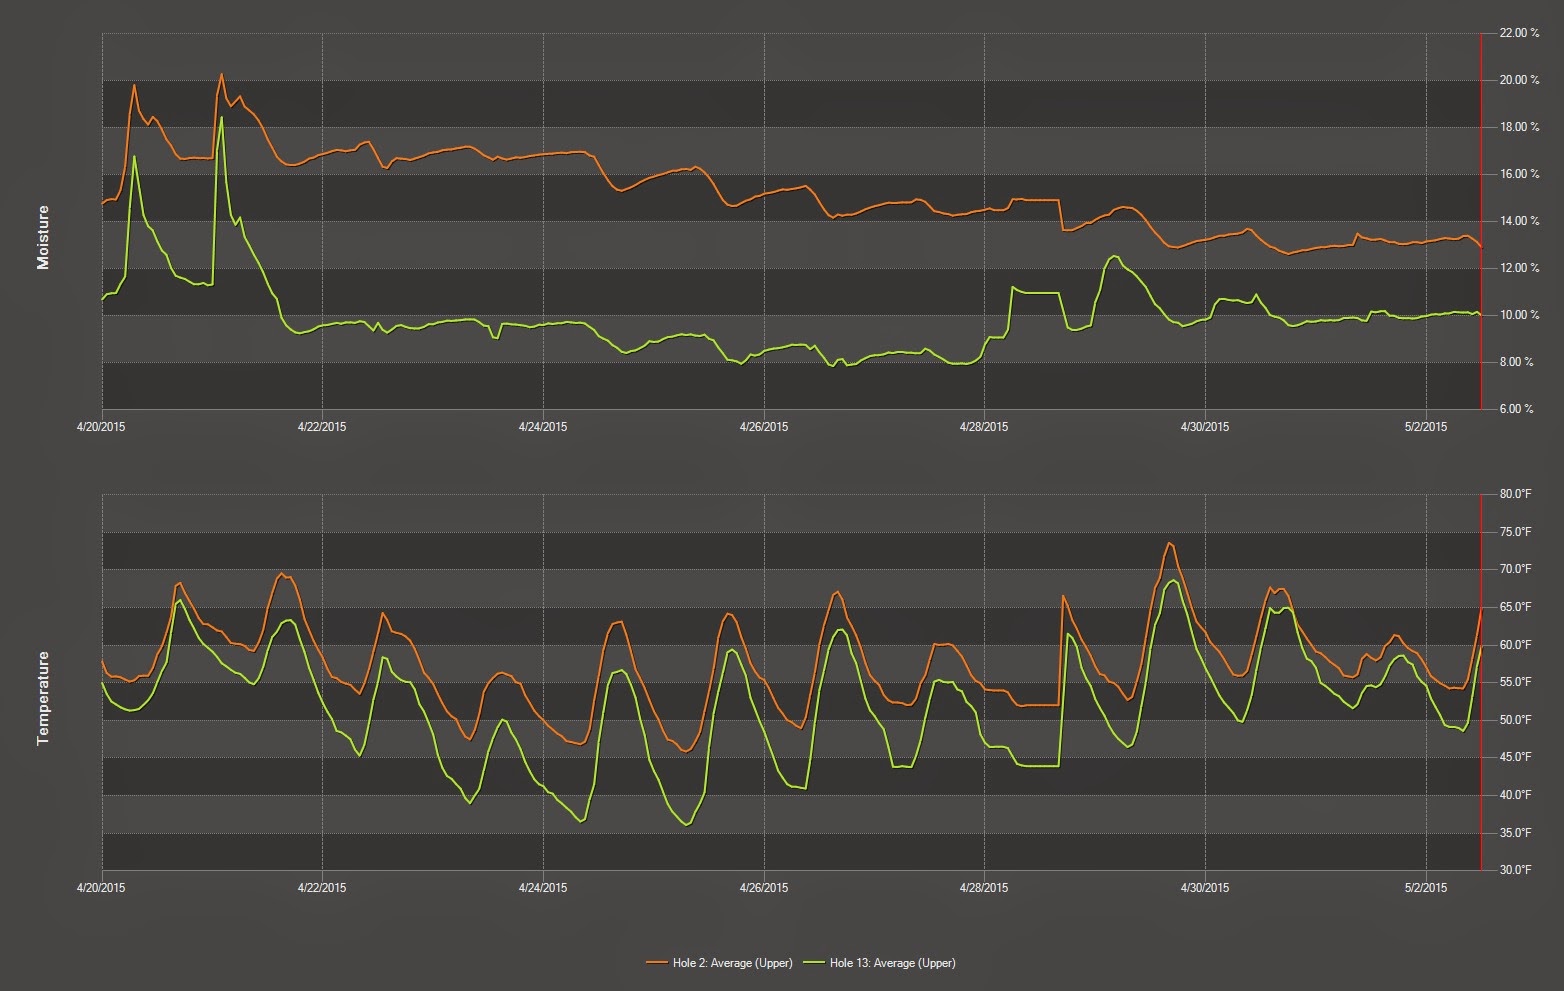
The Turfguard sensors (graph below) show the difference in temperature and moisture between the two greens (2 & 13). During the critical colder weather there is approximately 10F difference between the two, although on the warmer days the difference is smaller. Remember from earlier posts optimum bentgrass root growth occurs when average soil temperatures are 64-75F; as you can see 13 has not been close to that range.


The mowers were switched back to the regular units last week and the cut immediately improved. We had planned to roll last Saturday but unfortunately a dew resulted sand being pulled up, leaving a mess which effected ball roll. This is really frustrating as they were starting to look really good, but as I explained in this old post, it can be an unfortunate part of the recovery process. Dewcure was applied to make sure that there was no issues rolling on Sunday.


Finally to leave the aeration discussion behind until the Fall, here is a short video from the USGA Green Section on aeration. 


As I mentioned in the first post of the year, LedgeRock came through the winter in great shape. Having bentgrass surfaces is a major advantage, especially as there are numerous courses with poa throughout the state with turf issues from winter kill. LedgeRock actually had a little - the patch of poa below was on the practice green. Natural poa control! 


Last week some damage was witnessed around the course. There was a tire mark on 11 green. Initially we planned on plugging it but upon closer inspection, the crowns were healthy so it was best to let it grow out. It looked ugly for a few days but already it has nearly fully healed. 


The tire tracks below appeared in the fescue on 13 and a reminder everyone that for safety, the carts should remain in the bluegrass roughs. The tire tracks in the fescues also look unsightly when they start to grow. 


The dead dogwood behind 7 green was replaced and the crew have also started replacing some bunkers. The next update will cover the bunker project in more detail.


The freshly 'Blindered' bunker on 13

As always please let me know if you have any questions or comments: alan@ledgerockgolf.com


Friday, March 20, 2015

The Neverending Winter


From the picture above it is hard to believe it is March 20th! I was hoping this post would be describing how much work was getting done! The course had finally started to appear from the winter snow cover and we were able to open 10 holes this week, only to be covered up again today. 

13 on Tuesday - by Wednesday morning this was clear


The course weathered the winter months well and looked in pretty decent shape when it appeared out from under it's white blanket. The bunkers were inevitably washed out, there are some small debris (mainly leaves and twigs) around and some snow mold in the roughs but that is it. The snow mold in the roughs will grow out once they start to grow so is not an issue and the bentgrass surfaces look great. The crew start to return on Monday, so provided the snow is gone we can address the bunkers and start spring clean up. Once that is done we can get back onto finishing the tree work that was started before the snow arrived.

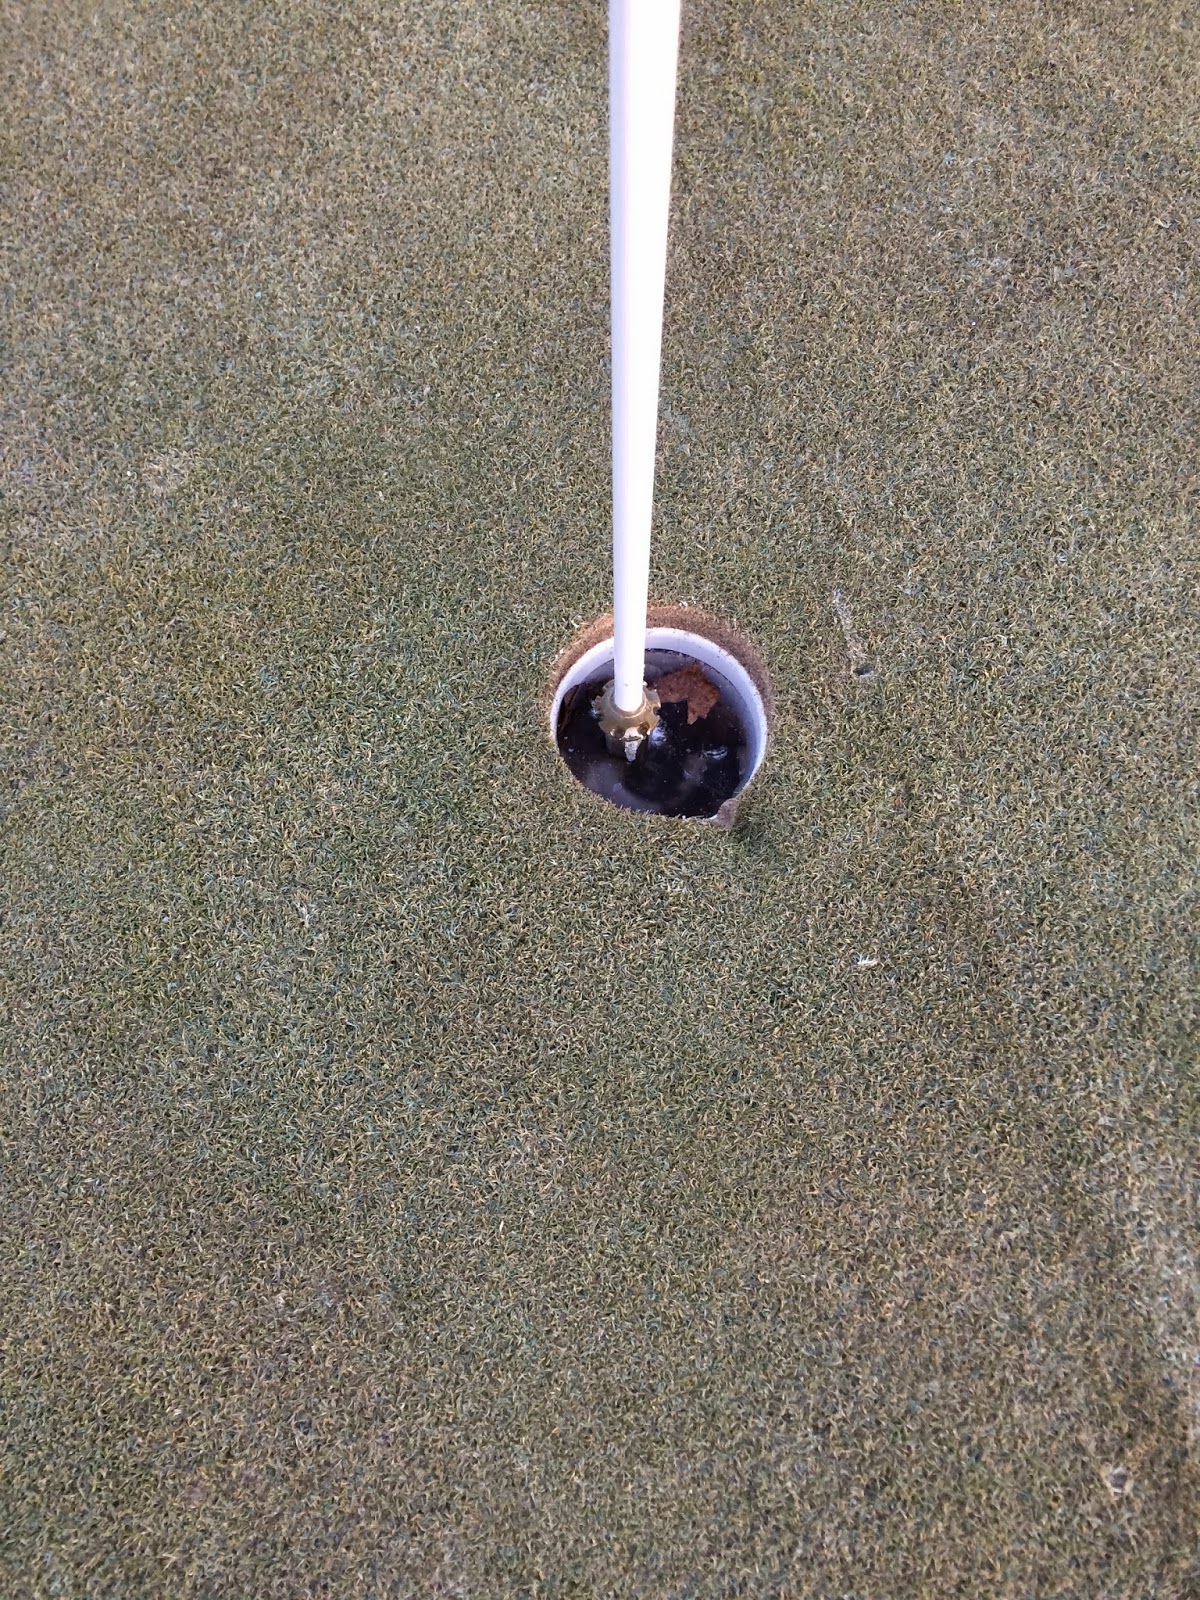
The joys of winter. The greens are still frozen so the thawed water has nowhere to go. It fills ups the cup and pushed the pin out. All that can be done is wait for it to thaw!


As the spring (allegedly!) approaches the inevitable questions on why we have to aerate right away will arise so it is a good time to revisit the subject of aeration timing. 

The simple answer to why core aeration is done around the middle of April is that it is the best compromise between healing time and having the course playable for the bulk of the summer. 

The full explanation goes back to when I first started aerating at LedgeRock I liked getting the coring out of the way as early as I could in the spring. March in some of those years was somewhat mild so the greens were completed before the end of the month. The problem was that the soil temperatures were not warm enough for the plant to be actively growing so healing took forever - in some cases 6-to 7 weeks - into the beginning of May - when the soil ultimately warmed up. Needless to say this wasn't ideal playing conditions so aeration was moved later into the spring so it would occur when the soil temperatures were at, or near, the point to support a quick recovery and minimize the time they were not perfect. In some years (like last year) there is a late spring and it can make that recovery take longer than normal; but overall mid April is the best compromise time between the start of optimum growth and the minimum recovery time. The ideal situation is that the April weather is average, to above average, and the greens are healed by May 1st. Aerating any later than mid April pushes the recovery time well into May and into the point of the season where the greens should be perfect.

A teaser from early May last year - we're only weeks away from this!


There is also a secondary issue in having the holes open and that is there is more potential for poa annua encroachment. This is more of an issue in the fall but poa can germinate in the spring also, so minimizing the time the greens are open helps keep it out.
As to the question to why we can't skip an aeration: Based on the greens physical soils tests, overall they are performing exceptionable well for 10 year old greens; this is due to the aggressive aerations that have been done over the years. Reading the summary shows that they recommend a minimum of 20% surface displacement per year. With our current aeration practices we are only just reaching that number. The displacement chart below can give you an idea of what is required. Currently 1/2" hollow tines on appox 1.5x1.5 centers are used which gives 8.73% per aeration or 17.46% per year. The in-season needle tine aerations and the Planet-air (a practice added last year) help make up the remaining of the 20%. The needle tines are 1/8" tines and don't count for much displacement as they are more of a tool to get air to the roots without surface disruption. It is difficult to measure the disturbance the Planet-air due to it's mode of action but it probably adds 3-4% from the two times it's done helping get us to around 21% total. They are recommending adding another 1/4" hollow tine aeration to ensure we hit our numbers...... 


Here are some USGA links that discuss the timing of aeration.

Easing the Pain of Aeration: The number one thing is timing! http://www.usga.org/NewsSF.aspx?id=21474851472

The Principle of Calculated Risk: Issues from going early http://www.usga.org/RegionalUpdateArticle.aspx?id=21474877214

Green Section Q&A: question 2: http://www.usga.org/Content.aspx?id=21474877610

Core Cultivation, Timing is Everything: A very nice article discussing why timing is key. http://gsr.lib.msu.edu/2010s/2010/100332.pdf

It has also been discussed a few times in the blog, although most of it covers the issues with the colder weather delaying healing.

Cold temps and healing from last spring: http://ledgerockgcmaintenance.blogspot.com/2014/04/4-25-14.html

So why do we aerate and why now: I probably should just take the second part of this and separate it out into it's own post: http://ledgerockgcmaintenance.blogspot.com/2013/09/so-why-do-we-aerate-and-why-now.html

I understand the frustration of the timing of this years aeration with the GAP matches but if we delay it until later, it will have a knock on effect to the May schedule. If the weather cooperates (i.e. the snow goes and the ground thaws) and we go early, the soils will not be warm enough and we will have cored greens for a longer period. I think that most, if not all, the other courses playing in the GAP matches will be in the same boat. 

Lastly to continue the theme of where LedgeRock was 10 years ago.

The first bridge (13) was completed


The Driving Range was taking shape


The main parking lots were being built


The Learning Center was taking shape


As always if you have any questions please email me: alan@ledgerockgolf.com


Monday, January 19, 2015

Happy New Year!


Another New Year arrives at LedgeRock as the club comes off it's most successful year to date. It is hard to believe that ten years ago the Learning Center was under construction! We have come a long way in a short time. At that time I couldn't envision the day when I would look back at these pictures and the construction would be a distant memory!


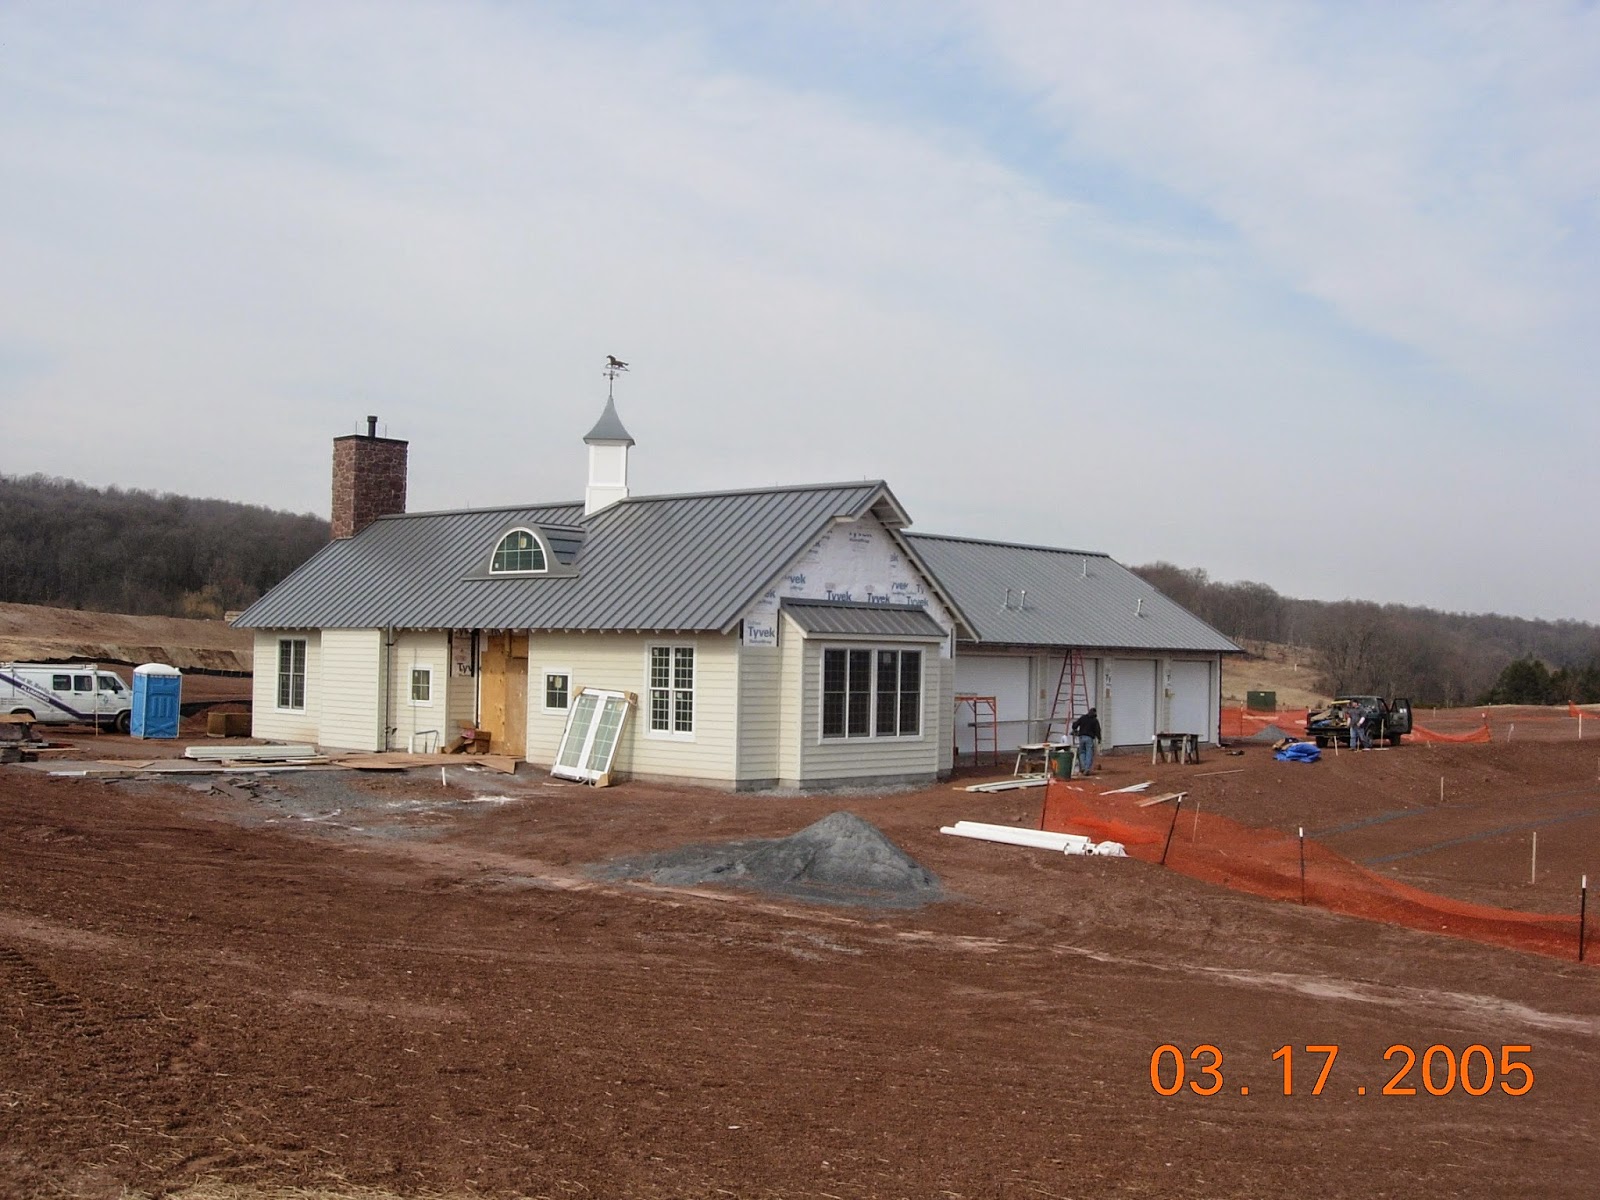
At this point in 2005, the course itself was still a long way from being finished. The construction had started in June 2004 and there were a lot of weather issues that delayed the construction. Luckily the winter was relatively mild so the bulk earthwork was completed, ensuring the golf contractor did not have to wait to shape the course. Phase 1 and 2 (holes 1-8, 14-18) were well under way at this point, while there was little work done on phase 3 (9-13). As the pictures below show, there was not a large amount of major earth moving required on phase 3 so it was left until last.


The last picture from February 2005 is a shot from the top of 15 tee looking back at 6 tee and 7 green.


So back to 2015. 

Frost and ice damage were previously discussed in this 2013 post but figured it would be worth revisiting. It can be frustrating on a nice winter day to want to play only to find the course closed. I think most people know the damage that walking on frost does but that is only one scenario. 

Ice on the practice green. The sand rootzone is frozen so the water cannot drain through it. This highlights how the surface can thaw but the soil can remain frozen solid.

Once there is a deep freeze, the turf/soil freezes as a whole. If the frost on the leaves thaws, but the soil stays frozen, there is no problem. The problem occurs when the surface thaws with the soil staying frozen. This can happen on warmer days, especially toward the end of winter or after a rain event. When the surface thaws and the soil stays frozen, traffic can sheer the roots at the interface between the two. This undoes the positive root growth from the fall and has the plants starting off on the back foot when they wake up in the spring. For example, the plant now has to start growing roots from an inch rather than three or more inches deep. The issues are compounded when you get to summer and the roots are that much more behind and therefore the plants are more susceptible to stress. The USGA Green Section just published this article that explains this in more detail. 

Even with a greatly reduced crew, while not near the in-season standards, we make sure the course is as playable as possible at all times so it can be played on the days it is safe for the turf. 


Last winter was particularly harsh on turf on courses all over the northeast. In most cases it was on courses that are predominately poa. There were two main reasons the damage occurred: the temperatures substantially dropped immediately after a warm period and the plants were not prepared. Poa also does not survive under ice after 30 days, whereas bentgrass can survive under ice for over 90 days. This is a nice article from Penn State going into winter kill in more detail.

So while it seems like the winter is a turf managers down time, there are still decisions that need to be made to ensure that the course is ready to be pushed during the following season.

As always please email me with any questions or topics you would like to see discussed. alan@ledgerockgolf.com